Zinester’s Toolkit is a column that spotlights the tools and processes behind the craft of zines and self-publishing.
In this edition, Eileen Chavez offers their tips on getting the most dink out of your shrink.
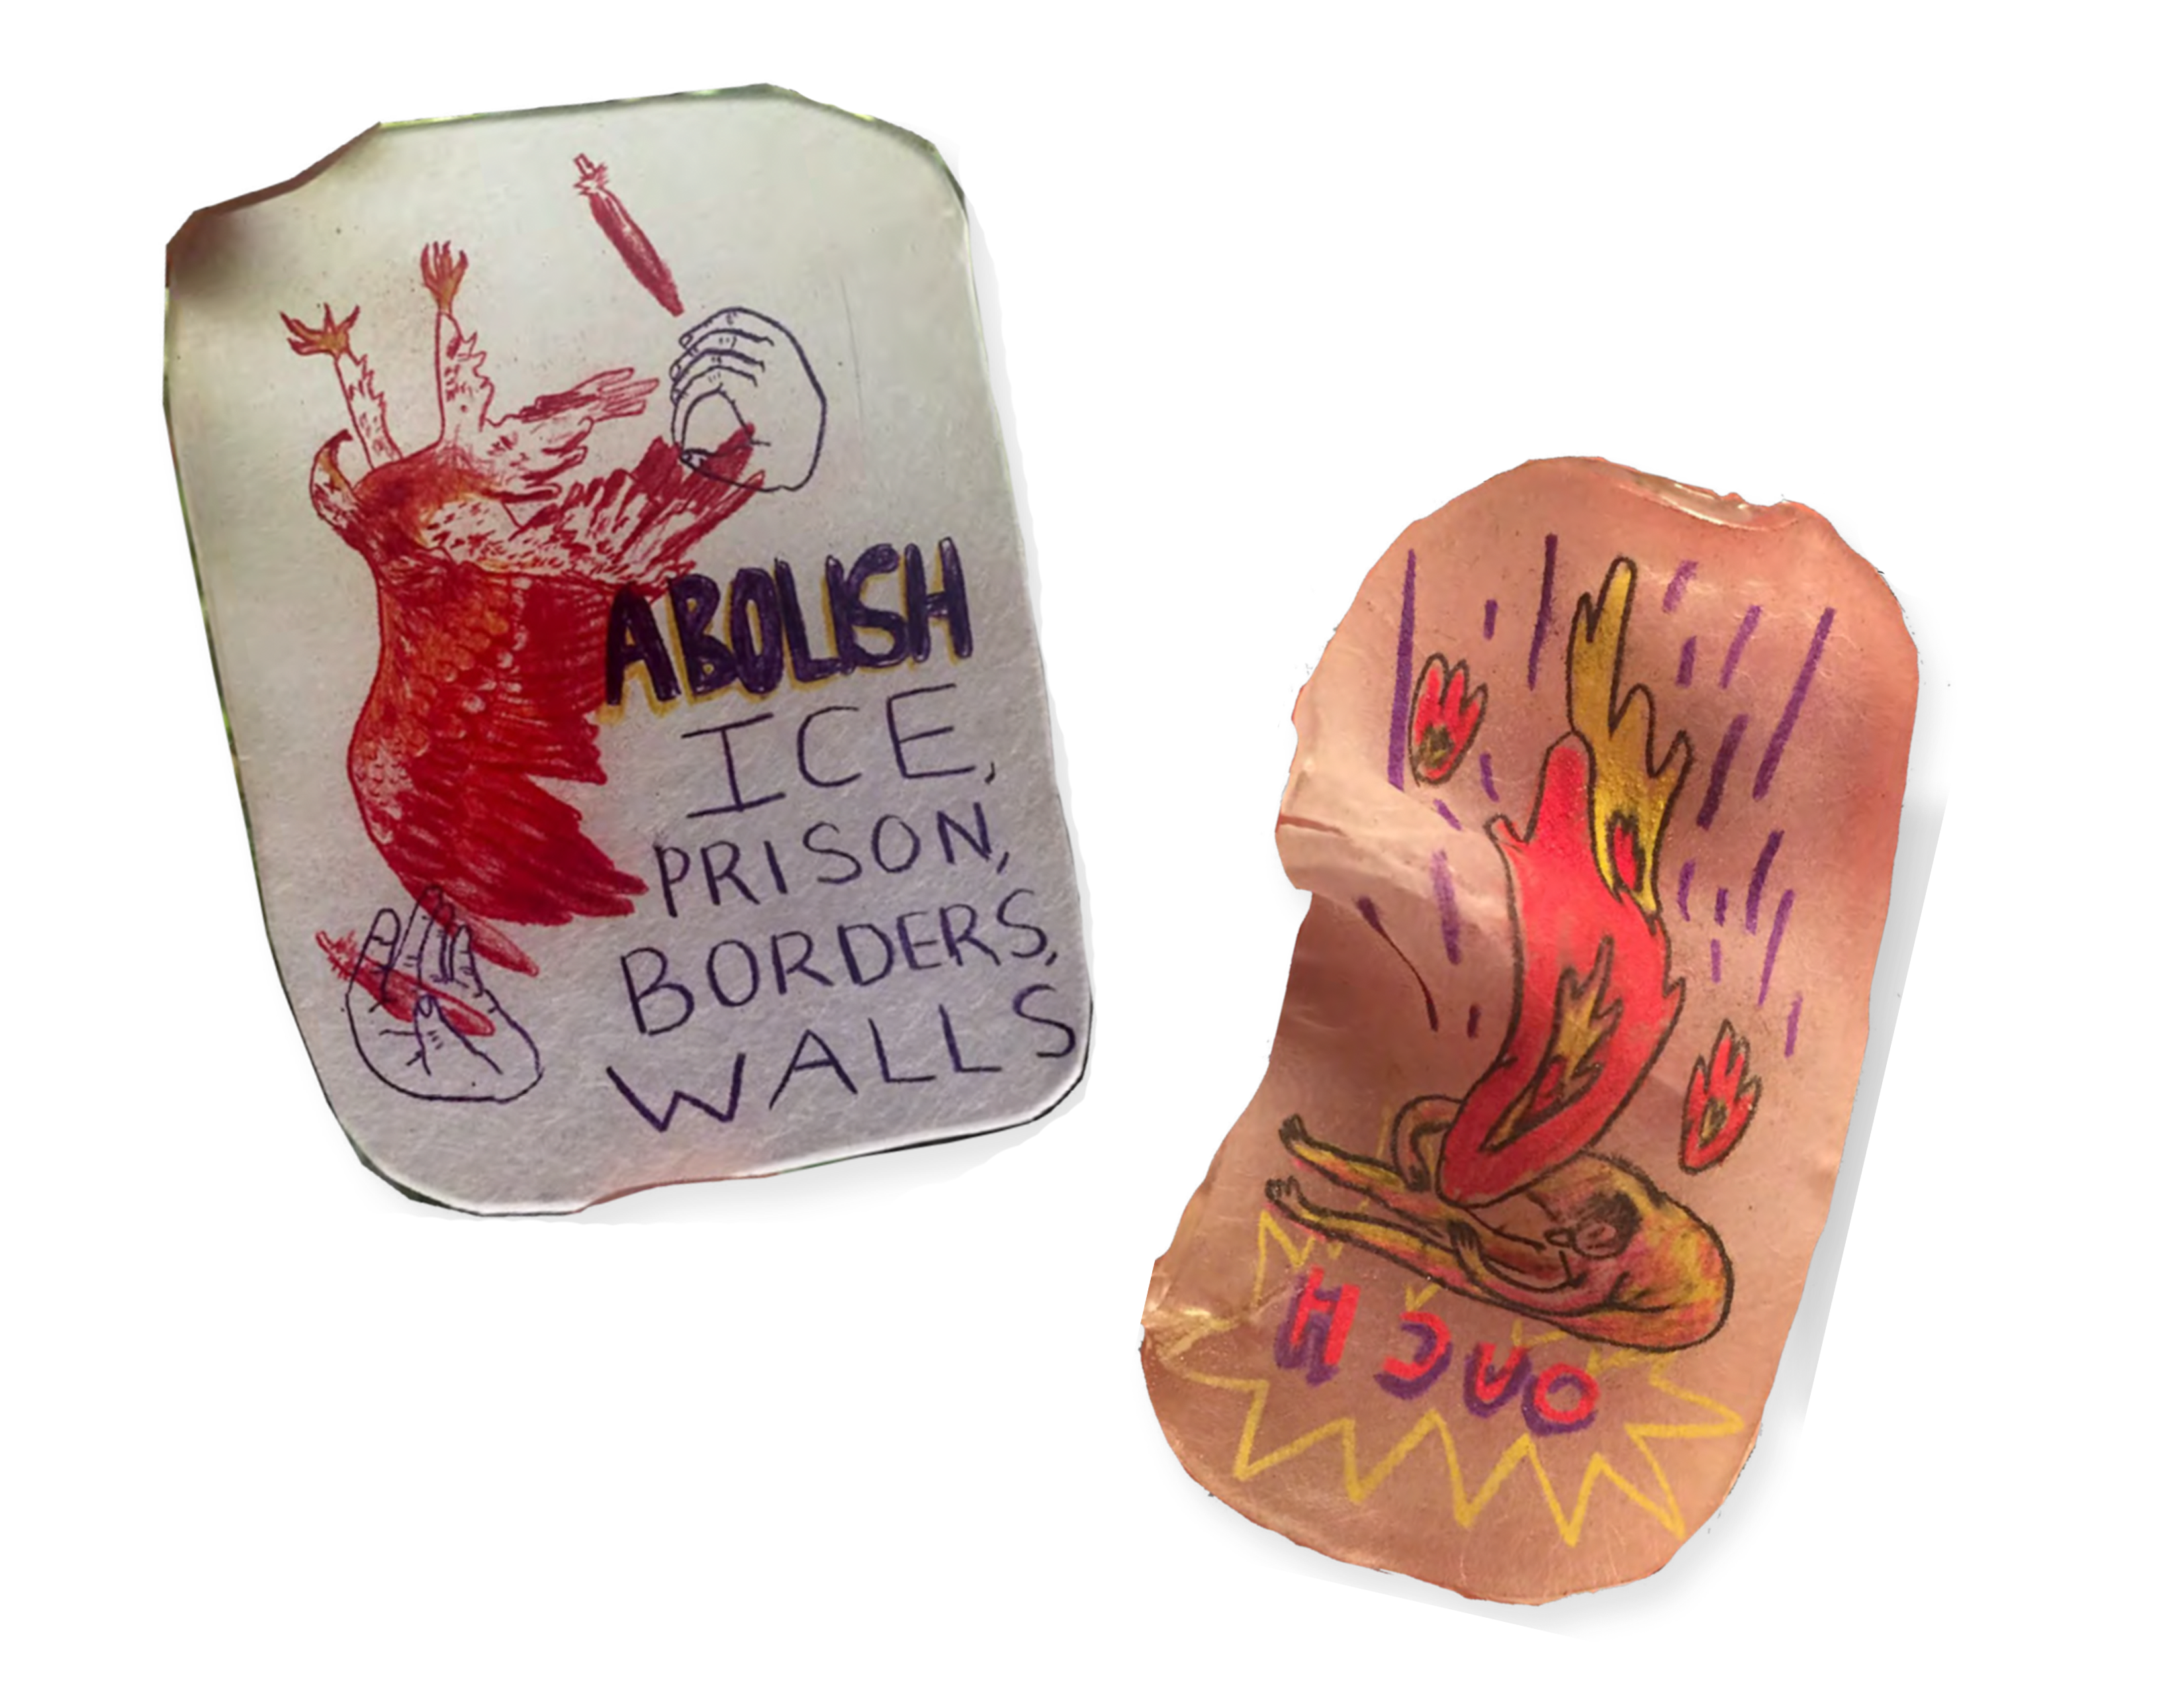
Kid’s toys and crafts often become DIY tools because they’re accessible — and, well, fun!
I love DIY culture because it puts you in charge, forgets the so-called rules of art and encourages experimental play, including “toys.” The freedom of DIY has given life to many imperfect crafts: screen and Risograph printing, zines, and a personal favourite, Shrinky Dinks!
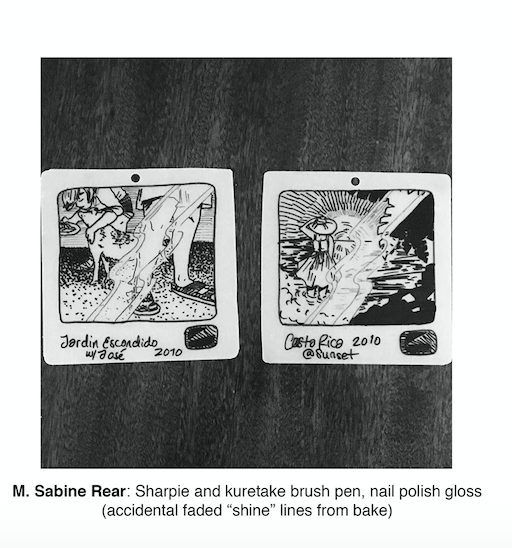
Shrinky Dinks, a crafting technique marketed to kids in the ’90s, are made of polystyrene sheets. The idea is to draw, colour and decorate the sheets and then heat them up, which causes them to shrink down dramatically.
Sounds a little technical, but shrinkies (as we devotees call them) are magical, and way easy to make once you get the hang of them. As a ’90s kid, these little guys hold a nostalgic place in my heart; my first art projects consisted of melting brightly-colored bits of plastic together. I got back into it when my cartoonist friend, Liz Yerby, encouraged me to make some dinks to escape a deep depression pit in the winter of 2016. I made a pin with a creature melting into a blanket of snow and couldn’t stop.
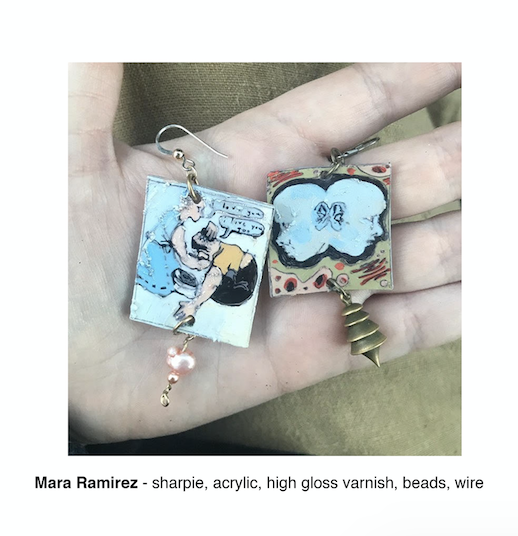 WHY SHRINKY DINKS?
- The materials are cheap and easy to find.
- The process is simple and straight-forward — anyone can do it!
- There’s room to experiment and improvise.
- You get to watch your drawings writhe around and come alive.
- You can turn something (often literal trash!) into wearable art.
WHAT YOU’LL NEED TO GET SHRINKING
- Polystyrene sheets
- Colouring supplies (coloured pencils, sharpies, acrylic paint, brush paint — my favourite but also can smudge and bleed. Dab excess ink on paper before applying.)
- Scissors
- An oven: I recommend a toaster oven because you can more easily watch your shrinkies shrink, though any oven works.
- Optional: Hole punch or X-Acto knife if you are making jewellery or accessories.
- Optional:Nail polish or topcoat for finish.
PICKING YOUR SHEETS:
- There are many types of Shrinky Dink sheets. I recommend the Frosted Rough N’ Ready packs, which are around $7 for 10 letter size sheets in most craft stores. “Frosted” are best, because coloured pencil and pen stick better to the rough surface.
- Smooth plastics can be a bit more finicky (they can curl up or crack while baking) but they still work with felt tip paint pens and acrylic media. Experiment!
- More DIY methods: any polystyrene (recycled plastic number 6) will work. Commonly found as clamshell containers in cafeterias. Note: Remember to sand the plastic if you want to add pencil media.
PRE-SHRINK TIPS
- Remember to make the image three times larger than you want your final product to be.
- Leave room between designs and extra room for punch holes if you are making earrings or pendants. If you forget, you can always turn it into a pin!
- Work with clean hands and surface. Oils can bleed into the sheets.
PREPARE FOR SHRINKING
- After drawing your design, cut out your shape with some wiggle room. Remember to leave room for holes!
- Use a hole punch or X-Acto knife to make holes. Make sure the hole is at least the size of a pea before cooking, so that it doesn’t shrink too tiny!
SHRINKING TIME!
Pre-heat:
- Set the oven to 325°F.
- Line a baking sheet with foil.
- Let the oven heat up for a few minutes.
- Put the shrinkies in, smooth side down (with the rough side and drawing facing away from foil). Watch it shrink!
- Leave it in the oven for 40-60 seconds after your image shrinks (the most time your shrinky is in the oven will be two minutes).
- The hotter your oven, and the longer you leave your shrinkies inside, the clearer your shrinkies will turn out. They may also have tiny bubbles. The shorter and cooler your oven, the more likely it is that the dink will get warped, or come out with a white background on one side and a clear one on the other.
- The minute you take out your dinks, put a book or another heavy object on top to flatten them or bend them (careful, they’re hot!) into your desired shape. If your shrinky is warped, it’s possible to re-heat and re-shape but you are more likely to lose the white background.
AFTER SHRINKING, YOU CAN:
- Add hooks for earrings
- Paint on a layer of nail polish or topcoat to add shine and protect image.
- Attach pin backs — I use super glue. A tip, the frosted side will become transparent if you add glue to it, and the pin back will show through to other side.

